
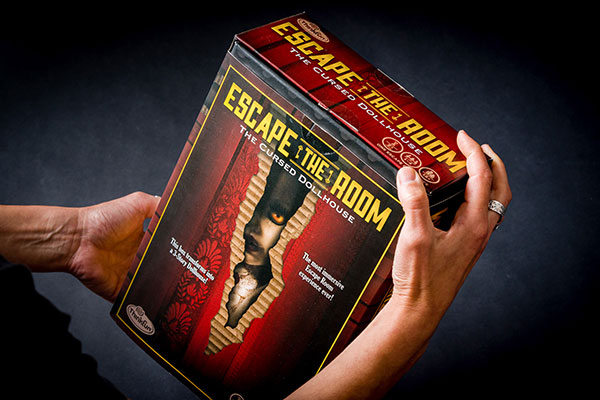
Reassembly Instructions
Spoiler Alert!
The information on this page is intended to assist players who have completed The Cursed Dollhouse and want to repack the game.
Do not read before playing or risk spoiling the story and puzzles!
To reseal envelopes and retape components to the walls of the house, we recommend the use of masking tape or other low tac tape. New tape should not be left on the walls too long, and we recommend adding it shortly before the game is passed on to the next players.
Step 1
RETURN ITEMS TO PUNCHBOARD
Remove all punchboard items from the house. This includes: Attic roof, attic wall, folding floor, bed, bookshelf, table, pin, and porcelain doll. Disassemble the furniture. If possible, place all items back into the original punchboards and plastic bag. Alternatively, you may choose to place all of the smaller items in the Component Envelope, or you may choose to keep the bed and table assembled. Both items can rest inside the paper tray.

Step 2
RETURN ITEMS TO ENVELOPES
CHEST: Fold the four sets of straps at the point where the strap meets the “fabric”. Seal the chest.
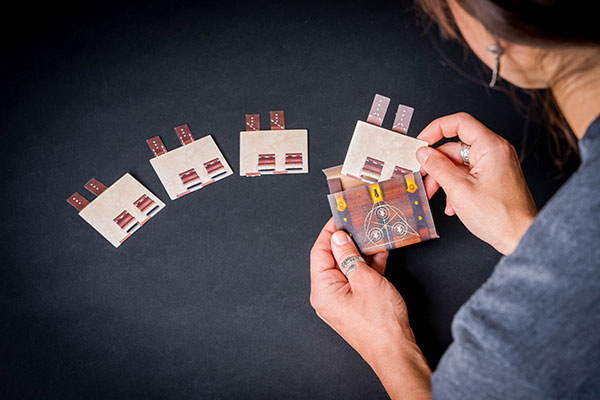
NESTING DOLL: From smallest to largest, place each layer of the nesting doll inside the next largest layer. Seal the fourth, largest doll envelope.

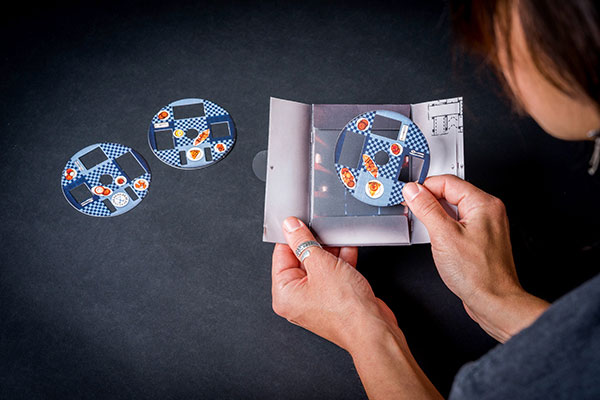
PANTRY: Place the three tablecloths inside the pantry. Seal the pantry.
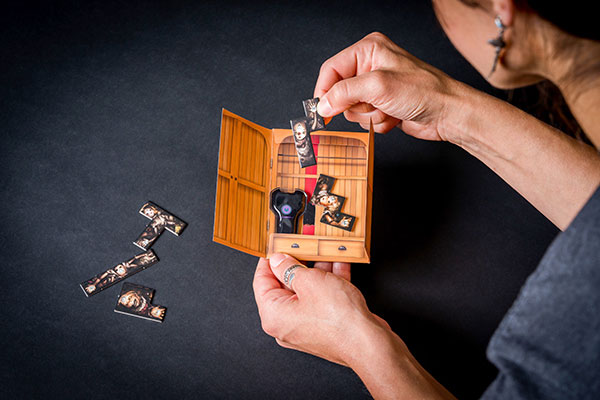
WARDROBE: Place the flashlight and five pentomino dolls inside the wardrobe. Seal the wardrobe.
Step 3
TAPE ITEMS TO WALLS
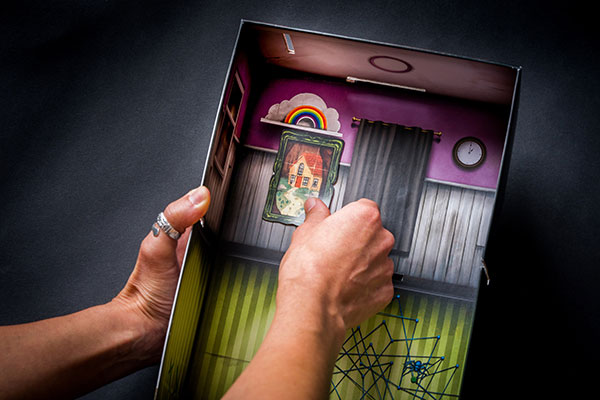
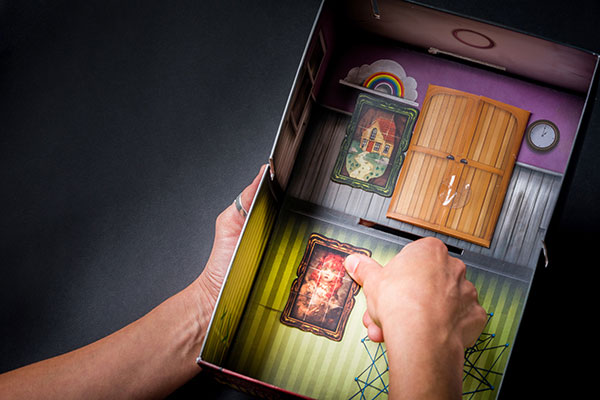
GREEN PORTRAIT FRAME: With the painting of the house face-out, tape the painting inside the bedroom, underneath the rainbow.
WARDROBE ENVELOPE: Tape the sealed wardrobe envelope to the back of the bedroom, covering the curtains.

BROWN PORTRAIT FRAME: With the portrait of the girl face-out, tape the painting inside the upper left corner of the living room.
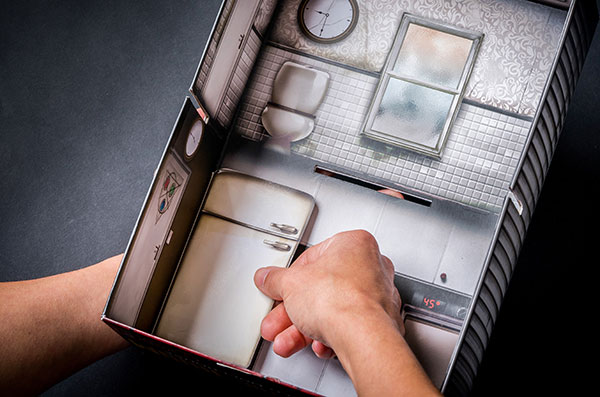
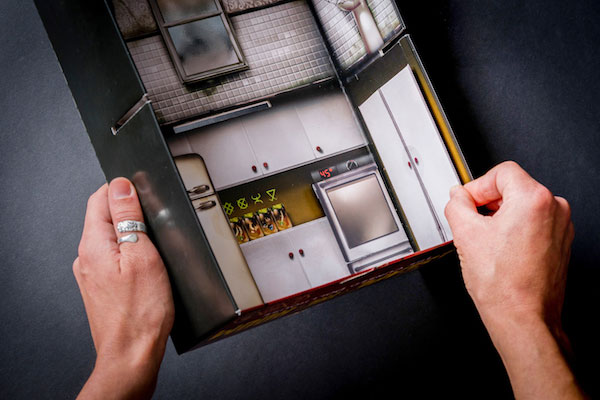
REFRIGERATOR ENVELOPE: Tape the refrigerator closed, then tape the refrigerator to the back of the kitchen, covering the green tile pattern.
PAN: Place the clear pan inside the oven, then tape the oven closed.
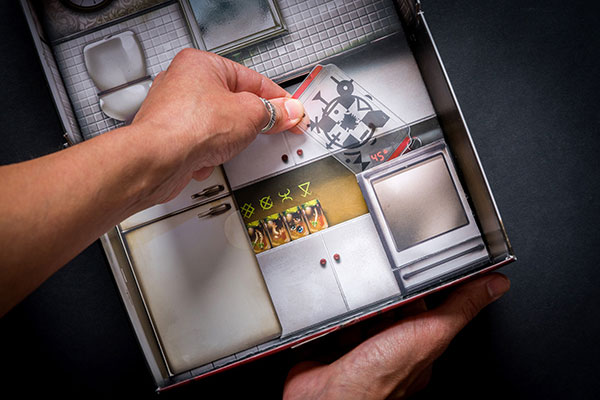
PANTRY: Tape the pantry to the side wall of the kitchen.
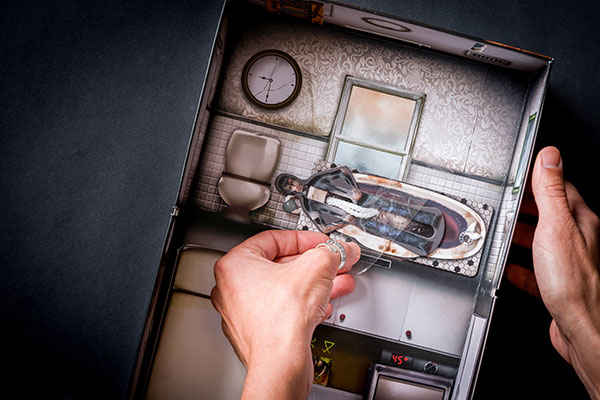
DOLL IN BATHTUB: Follow this video to reset the bathtub puzzle, then tape the puzzle to the back of the bathroom wall. Note: To allow the tub to sit flatter against the wall, the bead should peak out from an edge of the tub. To secure this puzzle, we recommend placing a long strip of masking tape diagonally across the whole puzzle.
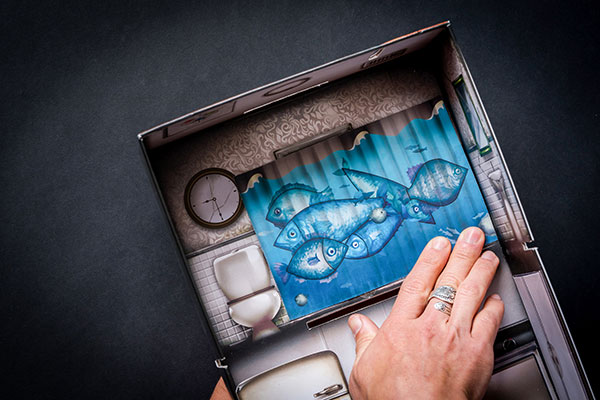
SHOWER CURTAIN: First, roll the curtain over the side of a desk/table to smooth out the folds. Then, tape the Shower Curtain to the back of the bathroom wall, covering the bathtub.
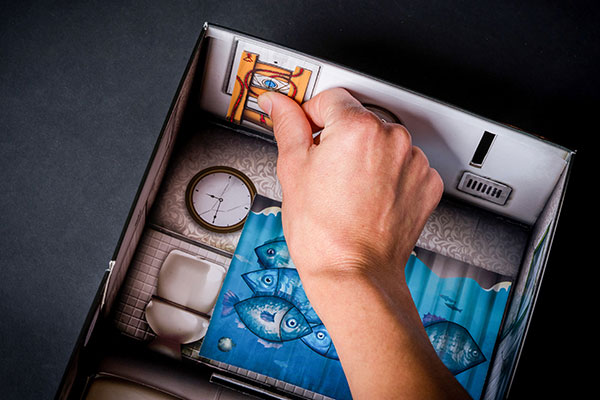
LADDER: Tape the folded ladder to the bathroom ceiling, covering the locked door symbol.
Step 4
REPRINT PUZZLES
Click the component that you would like to reprint. For all items except the Paper Doll, we recommend cardstock paper.
LETTER TO NEXT PLAYERS (OPTIONAL)
RUG
Note: You will need to carefully cut out a hole at the top of the rug.
PAPER DOLL
This file must be set-up for double-sided printing with a long edge flip.
OPTIONAL: To make the original paper doll suitable for reuse, roll the paper doll over the side of a desk/table to smooth out the folds, then let the paper doll sit under a heavy object overnight.
QUILT
VOODOO DOLL
Note: You will need to carefully add small slits to the areas marked with “X”s.
Step 5
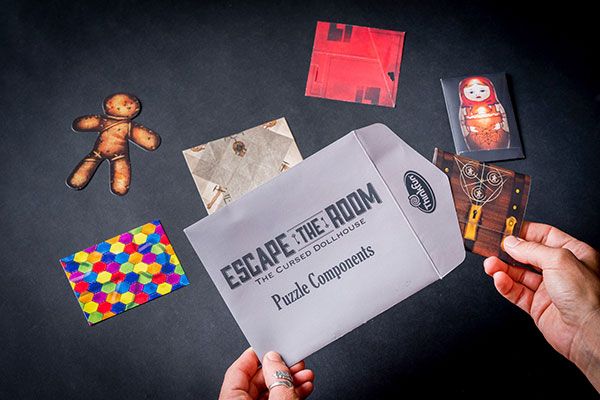
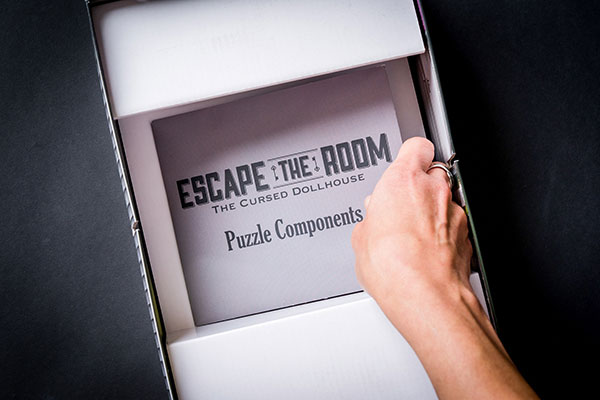
RETURN ALL LISTED ITEMS TO THE COMPONENT ENVELOPE
Seal the component envelope.
Step 6
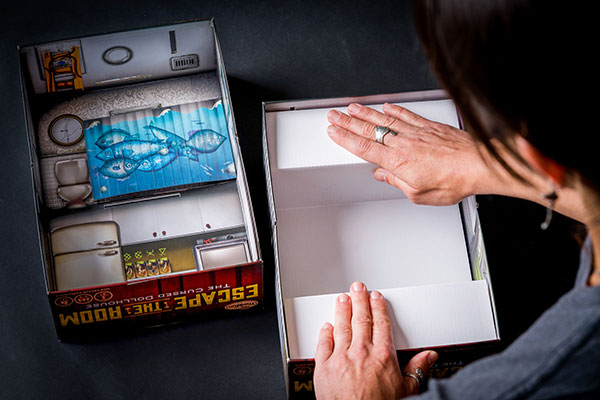
PACK THE PAPER TRAY INSIDE THE BOTTOM OF THE BOX
Place the tray inside the bottom of the box (the side with the bedroom and living room).
Reset the Solution Wheel by rotating it at random. Secure the Solution Wheel under the two tabs at the bottom of the paper tray.

Place the Component Envelope over the Solution Wheel.
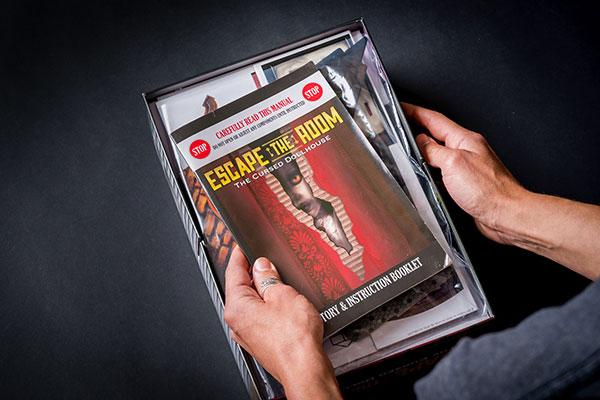
Rest the punchboards across the top of the paper tray. Place the Story & Instruction Booklet over the punchboards.
Step 7
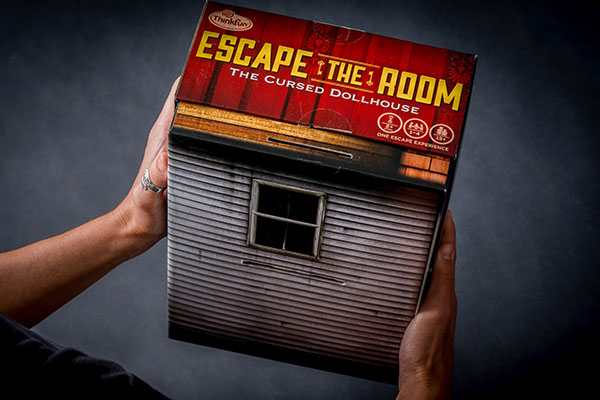
PLACE THE TOP OF THE BOX
Position the box so that the Escape the Room logo is facing up.
Step 8
SLIDE THE COVER SLEEVE OVER THE BOX.
Note: The logo printed on the house should align with the logos on the Cover Sleeve.
Photos by Johnny Shryock Photography